Freezing Bread: The Moisture Mistake That Spoils Your Loaf


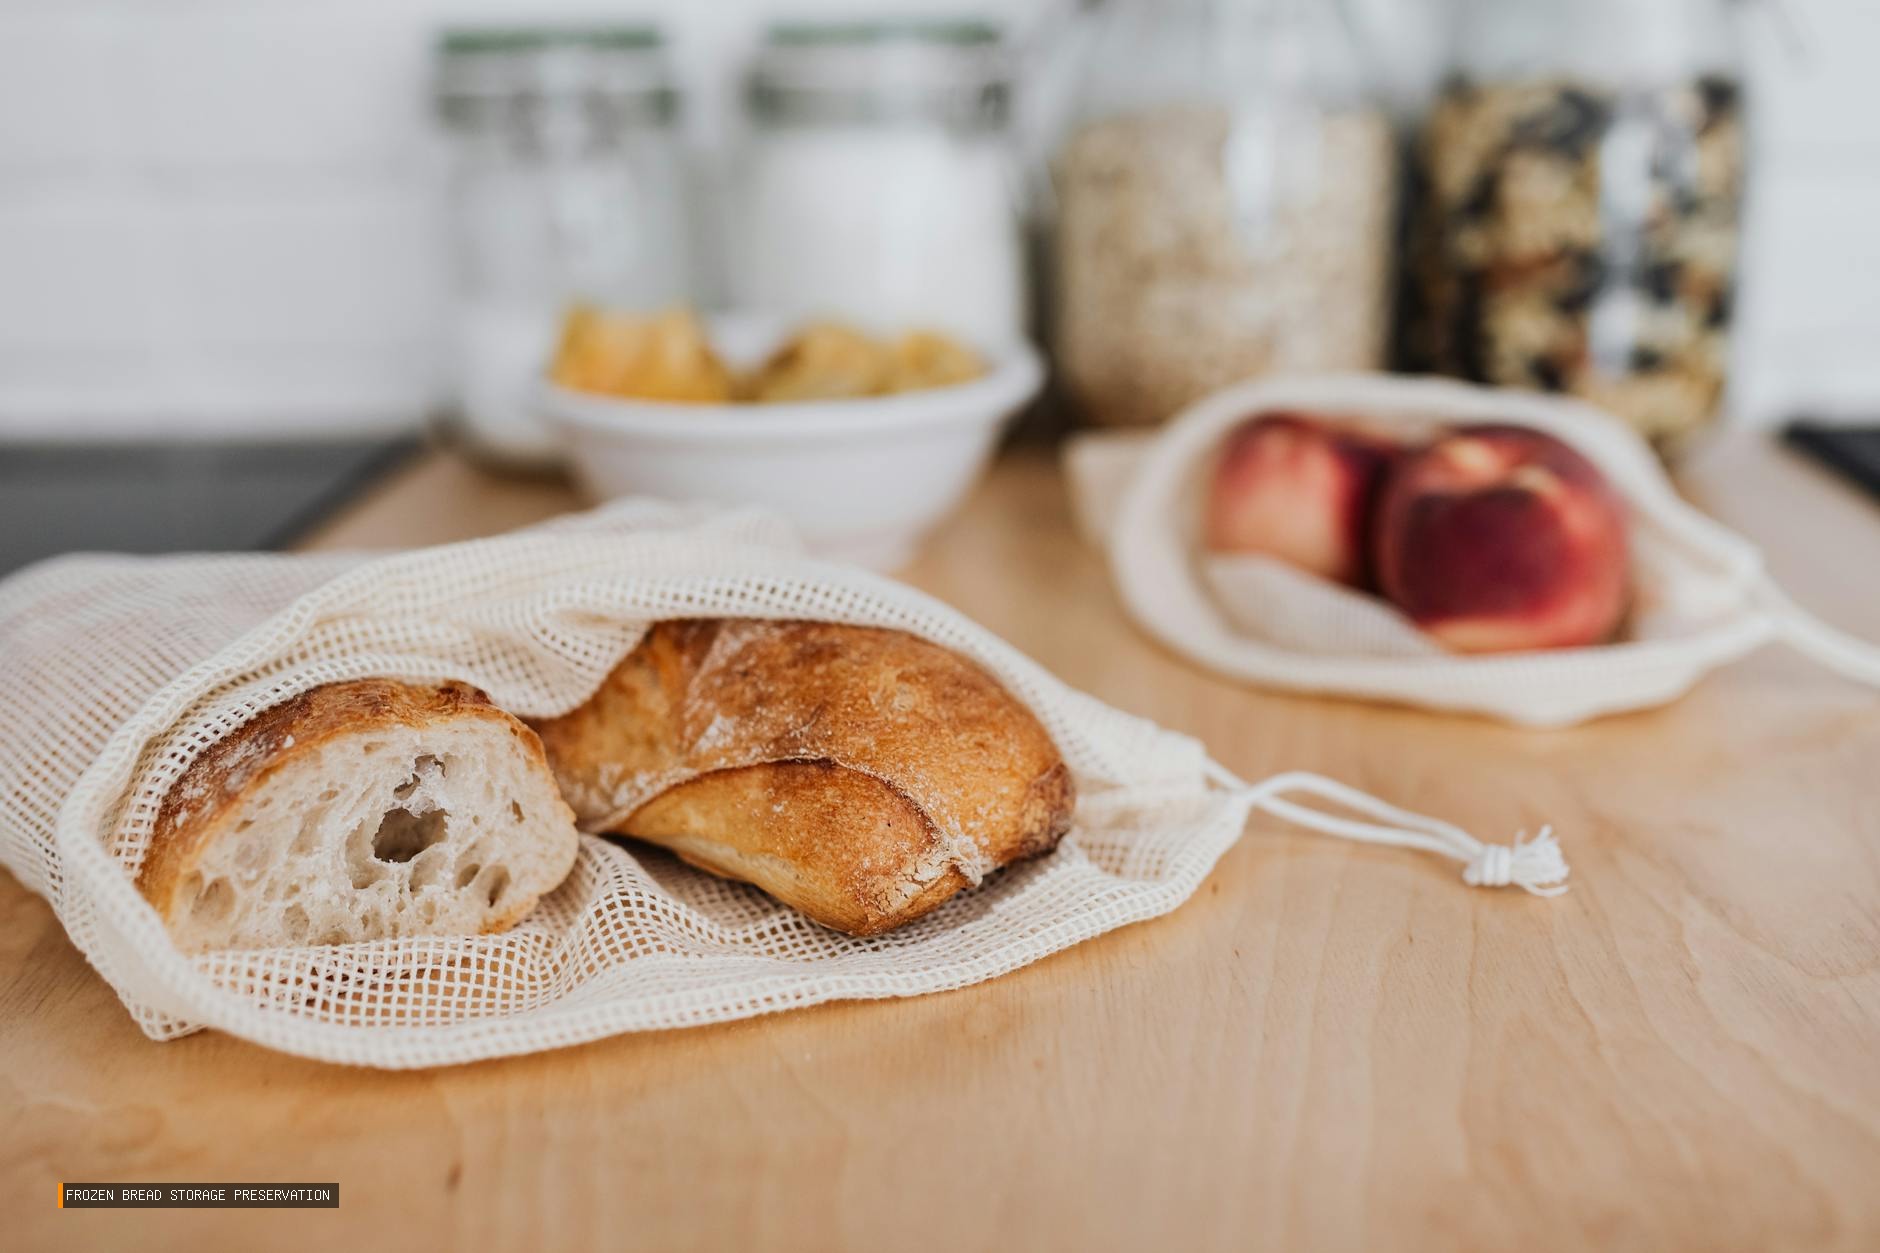
The smell of freshly baked bread is one of life’s simple pleasures. Yet when you freeze bread without understanding proper technique, you risk transforming that beautiful loaf into a soggy, unappetizing disappointment. The most common freezing bread mistake involves moisture accumulation—a preventable error that ruins texture the moment your bread thaws. Understanding this critical flaw transforms how you preserve your favorite loaves.
The Primary Freezing Bread Mistake: Improper Moisture Management
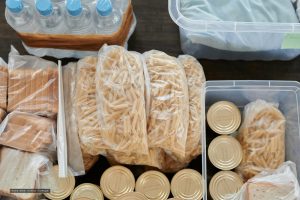
When most people freeze bread, they place the entire loaf directly into a freezer bag without considering condensation. This fundamental error creates an environment where moisture accumulates during thawing, making the bread soggy and dense. The bread itself releases moisture as it freezes and thaws, and that trapped moisture has nowhere to escape.
The problem intensifies because bread is porous by nature. Those tiny air pockets that give bread its appealing texture become condensation traps when the loaf temperature fluctuates. As frozen bread warms, internal temperature changes cause water vapor to form on the bread’s surface and throughout its crumb structure. Without proper ventilation or protective barriers, this moisture destroys the crispy crust and tender interior you’re trying to preserve.
Understanding Water Activity in Frozen Bread
Food scientists measure something called water activity—essentially how much moisture is available for undesirable changes. When bread freezes, ice crystals form throughout the crumb. During thawing, these crystals melt and release liquid that the bread cannot reabsorb properly if trapped in standard freezer bags. The result is bread with a clammy exterior and mushy interior structure.
The Correct Method: How to Freeze Bread Properly
Proper freezing bread technique requires multiple protective layers and strategic timing. The process begins before your bread even touches the freezer, starting with cooling and wrapping procedures that prevent moisture damage.
Step-by-Step Freezing Process
- Cool completely first: Never freeze warm or room-temperature bread. Allow bread to cool for at least two hours after baking or purchase. Warm bread releases steam that creates excess moisture inside your storage container.
- Slice before freezing: Pre-slicing bread allows faster thawing and better moisture management. Individual slices thaw more evenly than whole loaves, reducing condensation problems.
- Wrap in parchment paper: Place bread slices between sheets of parchment paper. This acts as a moisture barrier while remaining permeable enough to allow some air circulation.
- Add a protective plastic layer: Wrap the parchment-separated bread in plastic wrap. This second barrier prevents direct freezer contact while the parchment inside maintains texture integrity.
- Use freezer bags as final layer: Place wrapped bread into quality freezer bags, removing as much air as possible. This final barrier protects against freezer burn and external contamination.
Temperature and Duration Guidelines
Maintain your freezer at 0°F (-18°C) or below for optimal bread preservation. At this temperature, bread remains stable for three to six months. Higher temperatures accelerate deterioration. When you’re ready to use frozen bread, thaw it at room temperature while still wrapped. This slows moisture release and prevents condensation from forming on the bread’s surface.

Why Whole Loaves Create Bigger Problems
Freezing whole loaves exacerbates moisture issues because the interior takes significantly longer to thaw than the exterior. This temperature differential creates an extended condensation window where moisture migrates and accumulates. Whole loaves also require longer thawing times—typically four to eight hours—during which moisture damage compounds.
The Crust Paradox
Bread’s crispy crust becomes the first casualty of improper freezing. The crust, which should be firm and crackly, absorbs thaw-water readily due to its porous structure. Once saturated, the crust never fully recrisps, even after toasting. This is why sliced bread performs better—smaller pieces allow crust moisture to dissipate more rapidly during thawing.
Storage Duration and Quality Degradation
Beyond three months, even properly frozen bread experiences quality decline. Freezer burn—where moisture sublimates from ice directly to vapor—begins to noticeably affect texture and flavor. Whole wheat breads, which contain natural oils that oxidize over time, typically maintain quality for shorter periods than white breads. Artisanal sourdoughs frozen with proper technique can maintain acceptable quality for up to six months, while commercial sandwich breads peak at four months.
Research from food preservation studies shows that bread frozen using the multi-layer parchment-and-plastic method maintains 85% of its original texture quality compared to 40% for bread frozen in single-layer bags.
Monitoring Freezer Conditions
Temperature fluctuations compromise frozen bread regardless of your wrapping method. Every time you open your freezer door, warm air enters, causing minor thawing and refreezing cycles. This accelerates quality loss and creates additional condensation. Maintaining stable freezer temperature and minimizing door openings preserves your bread investment.
Thawing Methods That Minimize Moisture Damage
How you thaw frozen bread matters as much as how you froze it. The most effective method involves thawing while the bread remains completely wrapped. Leave bread in its plastic wrap and parchment layers at room temperature. This slows moisture release and allows the exterior to absorb minimal liquid.
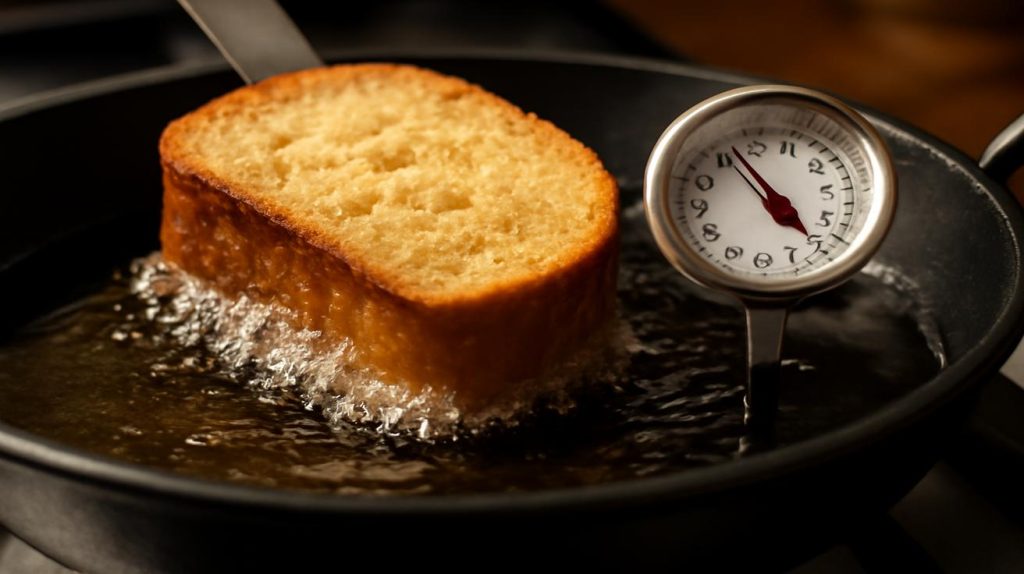
Toasting as Recovery Strategy
Even with perfect freezing technique, some moisture accumulates. Strategic toasting after thawing removes surface moisture and recrisps the crust. Toast thawed slices immediately after removing from packaging while they’re still cool. This prevents additional condensation while the bread reaches optimal texture. For whole loaves, slice first, then toast individual pieces.
Key Takeaways
- The primary freezing bread mistake is trapping moisture in single-layer storage, causing soggy texture when thawed
- Use multiple protective layers: parchment paper, plastic wrap, and freezer bags to manage moisture effectively
- Slice bread before freezing to reduce thawing time and minimize condensation accumulation
- Maintain 0°F freezer temperature and thaw while bread remains fully wrapped for best results
- Properly frozen bread maintains quality for 3-6 months; toasting after thawing restores optimal texture

Alternative Preservation Methods
Freezing isn’t your only option for extending bread life. Room-temperature storage in bread boxes works well for consumption within three to four days. Refrigeration, while extending shelf life to a week, accelerates staling through rapid moisture redistribution. Some bakers prefer freezing unbaked dough instead, which allows fresh baking after thawing. This approach bypasses texture degradation entirely but requires advance planning and oven access.
Freezing bread properly requires understanding the moisture dynamics that undermine texture. The critical mistake—trapping condensation in inadequate storage—is entirely preventable through proper technique. By implementing multi-layer protection, pre-slicing, and strategic thawing methods, you transform freezing bread from a texture-destroying process into an effective preservation strategy. Your next frozen loaf can maintain 85% of its original quality, making freezing a dependable solution for reducing food waste and maintaining access to quality bread throughout the month.


Leave a Comment