The myth that chicken breast must be dry and unappetizing has persisted in home kitchens for far too long. While countless recipes and cooking shows have portrayed this lean protein as a culinary challenge, professional chefs have been quietly using a straightforward method to ensure consistently tender, flavorful results. The technique isn’t complicated, expensive, or time-consuming—yet it’s overlooked by most home cooks, leading to countless disappointing meals.

Understanding Why Chicken Breast Dries Out
Before exploring the solution, it’s important to understand the science behind why chicken breast becomes dry in the first place. Unlike darker chicken meat, breast tissue contains fewer fat cells and less myoglobin, the protein responsible for moisture retention. When heat is applied, the muscle fibers contract and squeeze out water, especially if the internal temperature exceeds 165°F by any significant margin.
The problem intensifies because chicken breast cooks quickly and unevenly. The outer edges can reach dangerous temperatures while the center remains undercooked, forcing home cooks to increase overall cooking time, which further dries out the exterior. This creates a catch-22 situation that has frustrated millions of dinner preparers.
Professional kitchens recognized this challenge years ago and developed solutions that address the fundamental issue: moisture loss. The most effective method doesn’t involve special equipment or complicated procedures. Instead, it relies on a basic culinary principle that works at the molecular level.
The Brining Breakthrough
The technique that revolutionizes chicken breast preparation is brining—a process where protein is submerged in a saltwater solution before cooking. When salt penetrates the muscle structure, it modifies the proteins and increases their ability to retain moisture during the heating process. This isn’t new chemistry; food scientists have documented this effect extensively.
The brining process works through a series of chemical reactions. Salt dissolves into the water, creating an ionic solution that penetrates the chicken’s cellular structure. As it does, the salt causes the muscle proteins to unwind slightly, creating a matrix that can hold water more effectively. When heat is applied during cooking, this modified structure maintains moisture that would normally escape.
Restaurant chefs use this technique because it delivers reliable results. A properly brined chicken breast can withstand slightly longer cooking times without becoming tough and dry. This margin for error makes the difference between success and failure in busy kitchen environments where multiple dishes cook simultaneously.
Creating Your Home Brining Solution
The basic brining solution requires minimal ingredients. Mix one quart of water with approximately one-quarter cup of salt—that’s roughly two tablespoons per cup of liquid. Some chefs add sugar to balance the saltiness, using equal parts salt and sugar by weight. Others incorporate aromatics like garlic, thyme, rosemary, or bay leaves for additional flavor development.
For those concerned about sodium intake, a reduced-salt version using two tablespoons per quart still provides significant benefits, though not quite as dramatic as the full-strength solution. The key is maintaining enough salt to initiate the protein modification process.
The beauty of this approach lies in its simplicity. You don’t need specialized equipment. A basic bowl or container works perfectly. The brining solution doesn’t require heating—cold water works just as effectively as hot water, though cold brining takes slightly longer to penetrate the meat.
The Timing Factor
Duration matters when brining chicken breast. The optimal window spans from two to eight hours, depending on thickness. Thinner breasts require closer to two hours, while thicker pieces benefit from longer submersion, up to eight hours. Over-brining beyond twelve hours can make the texture undesirably mushy, as excessive salt can over-denature the proteins.
Many home cooks find that overnight brining—approximately eight hours—offers a convenient schedule that fits typical meal planning. Prepare the solution before bed, submerge the chicken, and refrigerate. By morning, the chicken is ready for cooking whenever needed during the day.
This timing flexibility represents another advantage over more complicated cooking methods. The preparation phase requires only minutes of active work, and the actual brining happens passively in your refrigerator.
Cooking Brined Chicken Properly
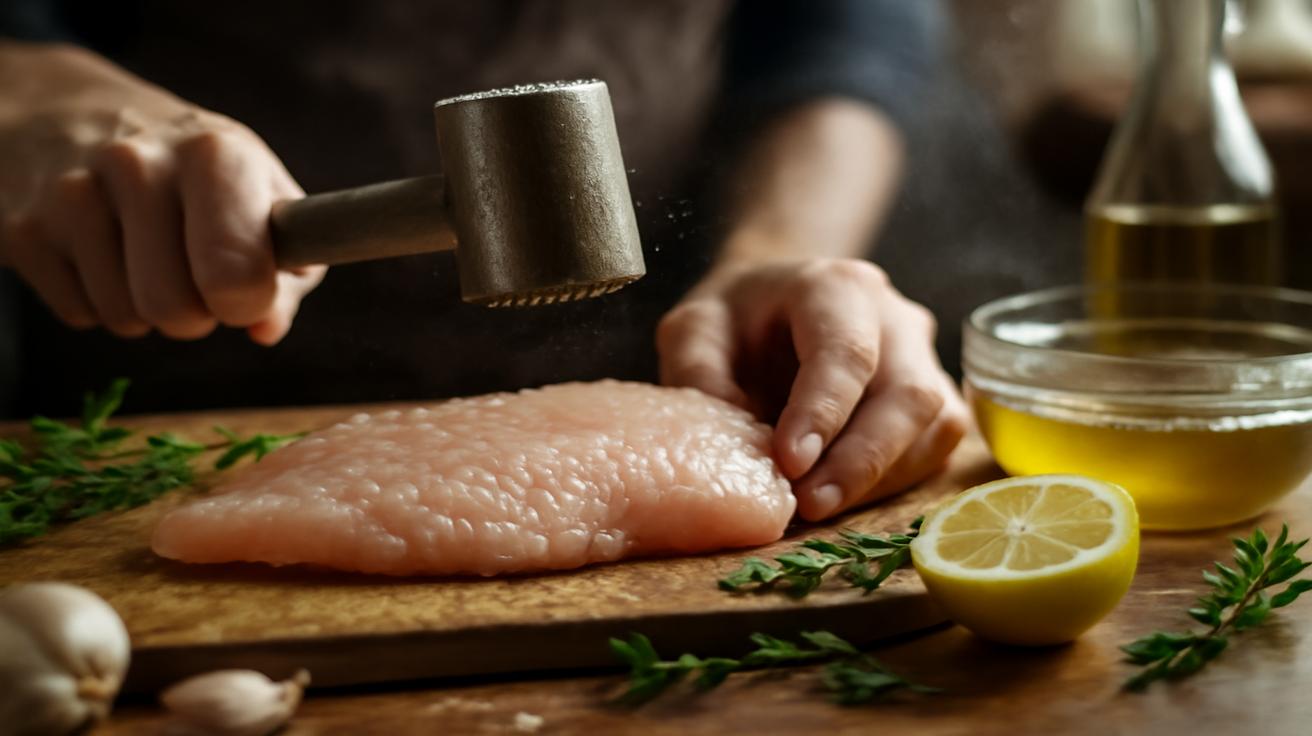
Once brining is complete, proper cooking technique becomes important to maximize results. Pat the chicken dry with paper towels before cooking—excess surface moisture interferes with browning. Heat your cooking surface thoroughly, whether that’s a skillet, grill, or oven.
Temperature control matters more than duration. Instead of cooking until a timer goes off, monitor the internal temperature with an instant-read thermometer. For chicken breast, target 160-162°F internal temperature, not the standard 165°F that applies to whole birds. The lower temperature accounts for carryover cooking as the meat rests, which adds another degree or two. This slight adjustment prevents overcooking while remaining perfectly safe.
Allow the cooked chicken to rest for five to ten minutes before slicing. This resting period allows the retained moisture to redistribute throughout the meat, ensuring every bite benefits from the brining process.
Real-World Results
Home cooks who implement brining consistently report remarkable improvements. Chicken that previously turned dry becomes noticeably juicier. The texture transforms from rubbery to tender. Even when cooking times vary slightly, the meat maintains quality that would have been impossible without this preparation.
The technique works across cooking methods. Whether you grill, pan-sear, poach, or bake, brined chicken outperforms unbrined chicken by a substantial margin. Professional testers have documented this through blind taste comparisons, where brined samples consistently rated higher for moisture, tenderness, and flavor.
Beyond simple preparation, brining opens new recipe possibilities. Chicken breast can now anchor sophisticated dishes without the liability of dryness compromising the entire meal. Flavored broths used for brining can impart subtle tastes—try chicken or vegetable stock instead of pure water, or add fresh herbs for aromatics.
Addressing Common Concerns
Some home cooks worry that brining makes chicken overly salty. When ratios are correct, this shouldn’t occur. The salt modifies protein structure but doesn’t create an overwhelming salty taste. Using water volume as your guide prevents this issue—one-quarter cup of salt per quart of water creates a solution that enhances rather than dominates.
Others question whether brining is worth the extra step. The answer becomes clear after the first successful comparison. Once you taste the difference, the minimal additional effort becomes obviously worthwhile. Preparing the solution takes two minutes. The rest happens automatically in your refrigerator.
The Path Forward
This simple technique represents professional kitchen knowledge finally reaching home cooks through widespread information sharing. What was once exclusive to trained chefs is now accessible to anyone willing to try it once. The investment is minimal—salt and water plus a small amount of time—and the return is transformative.
Chicken breast no longer requires apology or explanation when served at home. With brining as your foundation and careful temperature monitoring during cooking, consistently excellent results become the norm rather than the exception. This single adjustment can elevate home cooking and demonstrate that restaurant-quality protein preparation isn’t a mystery reserved for professionals.


Leave a Comment